How to use Aptos Indexer API?
New to the Aptos Indexer API? This guide walks you through everything step by step — from how to use the Aptos Indexer API to where you can apply it in your projects.
This guide covers three main steps:
- Setting up your environment for Nodit
- Trying out the Indexer API
- Integrating the Indexer API into a Dapp
1. Setting up Nodit Console
In this chapter, you will configure the Nodit Console environment to use the Aptos Indexer API. The Nodit Console lets you connect to the Aptos network, obtain an API key, and query various data with ease. The setup covers everything from signing up for Nodit to connecting an Aptos node and issuing an API Key.
1.1. Sign-up for Nodit
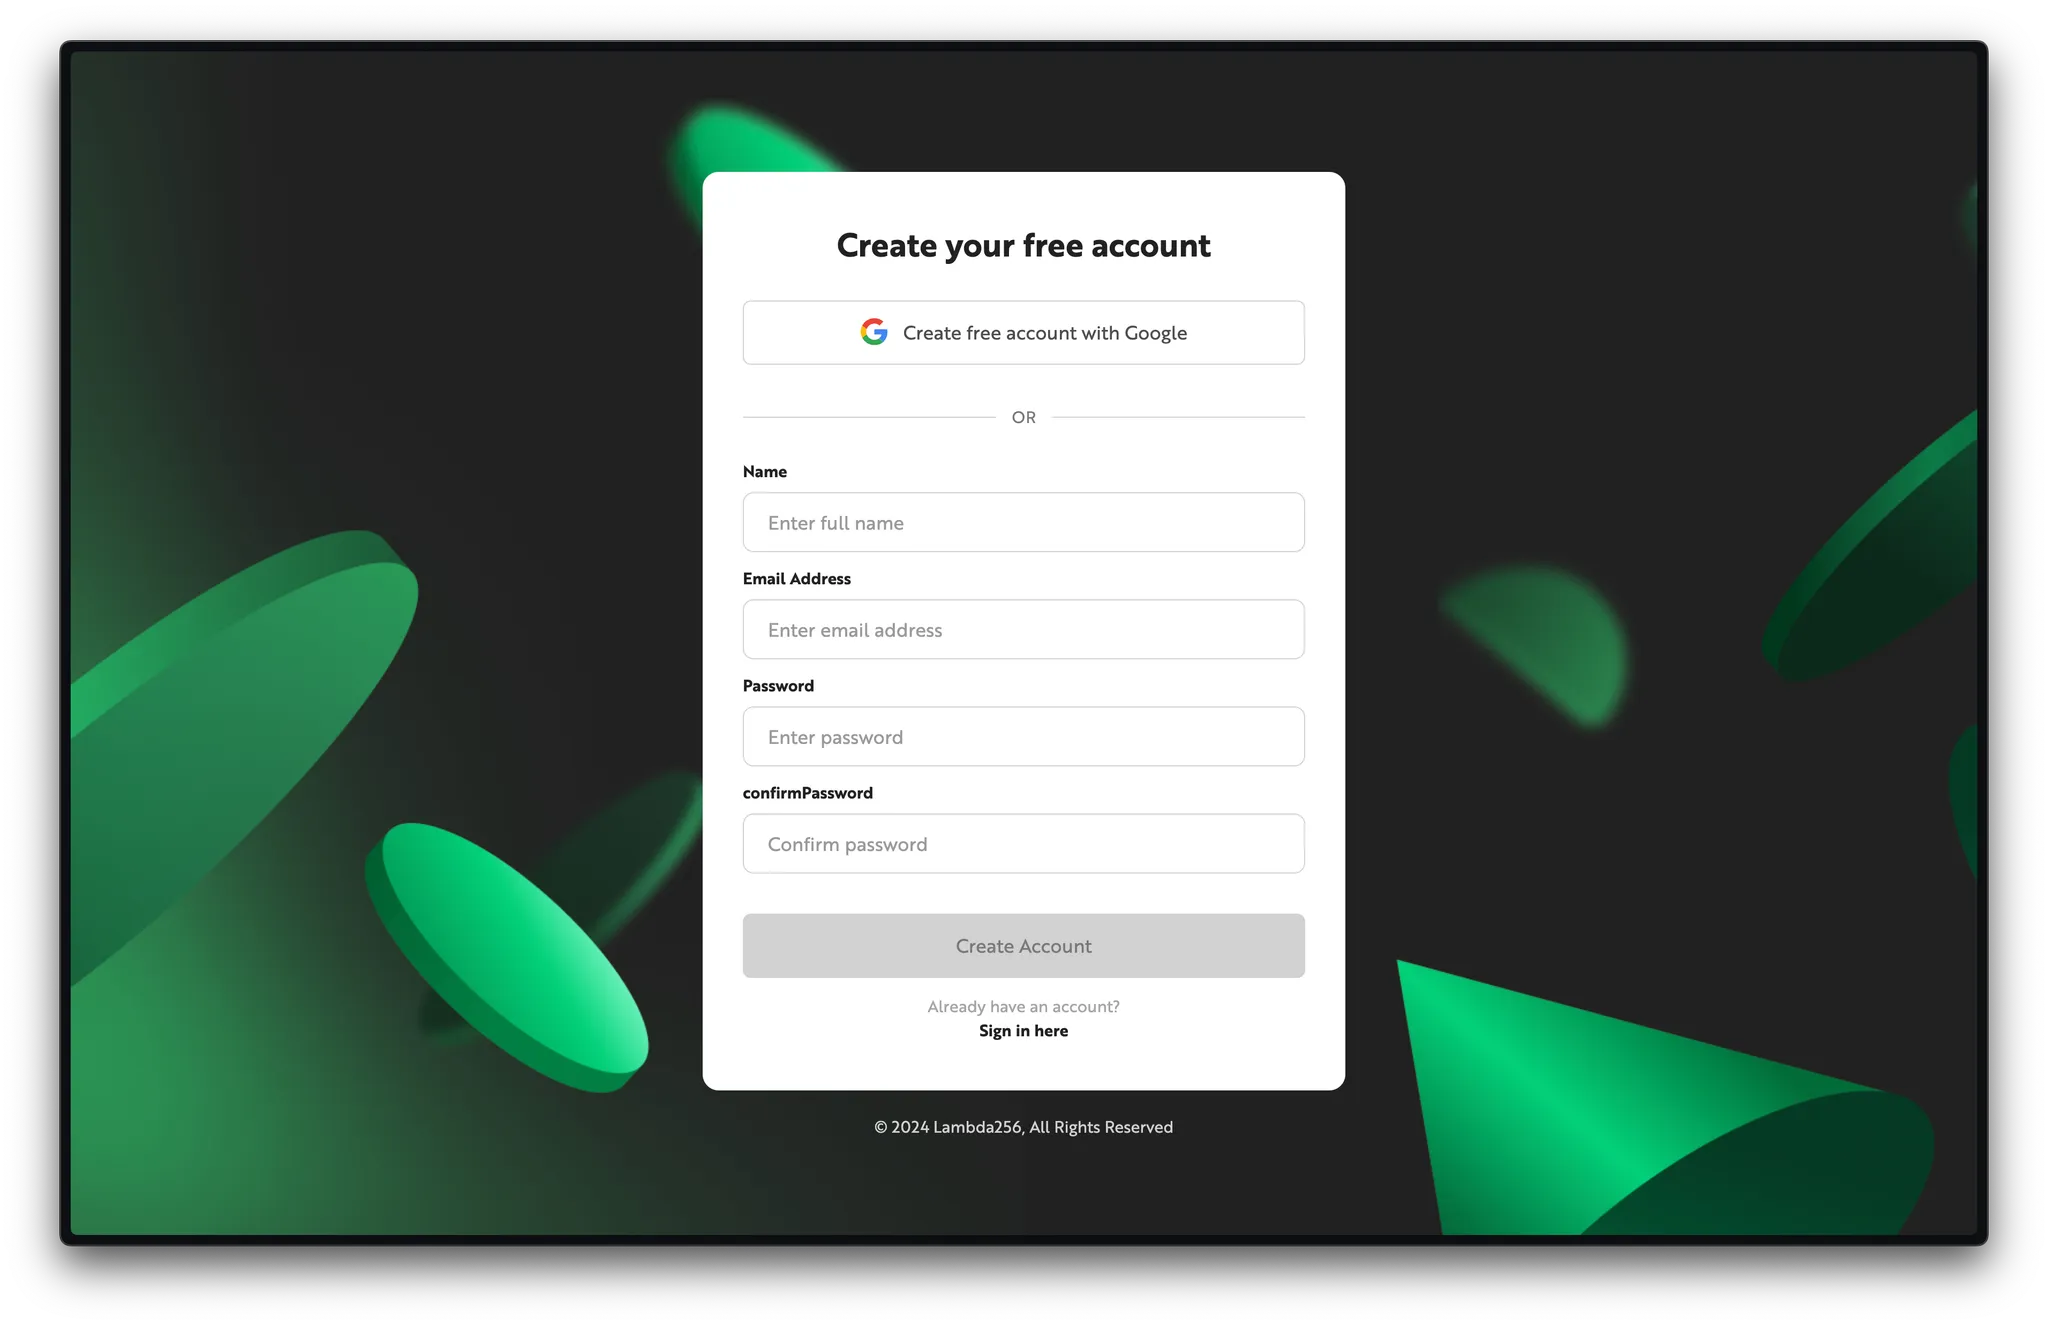
Start by creating a Nodit account.
Click the link below to go to the sign-up page. You can sign up quickly with a Google account or by entering an email address directly.
1.2. Connect to Aptos Networks
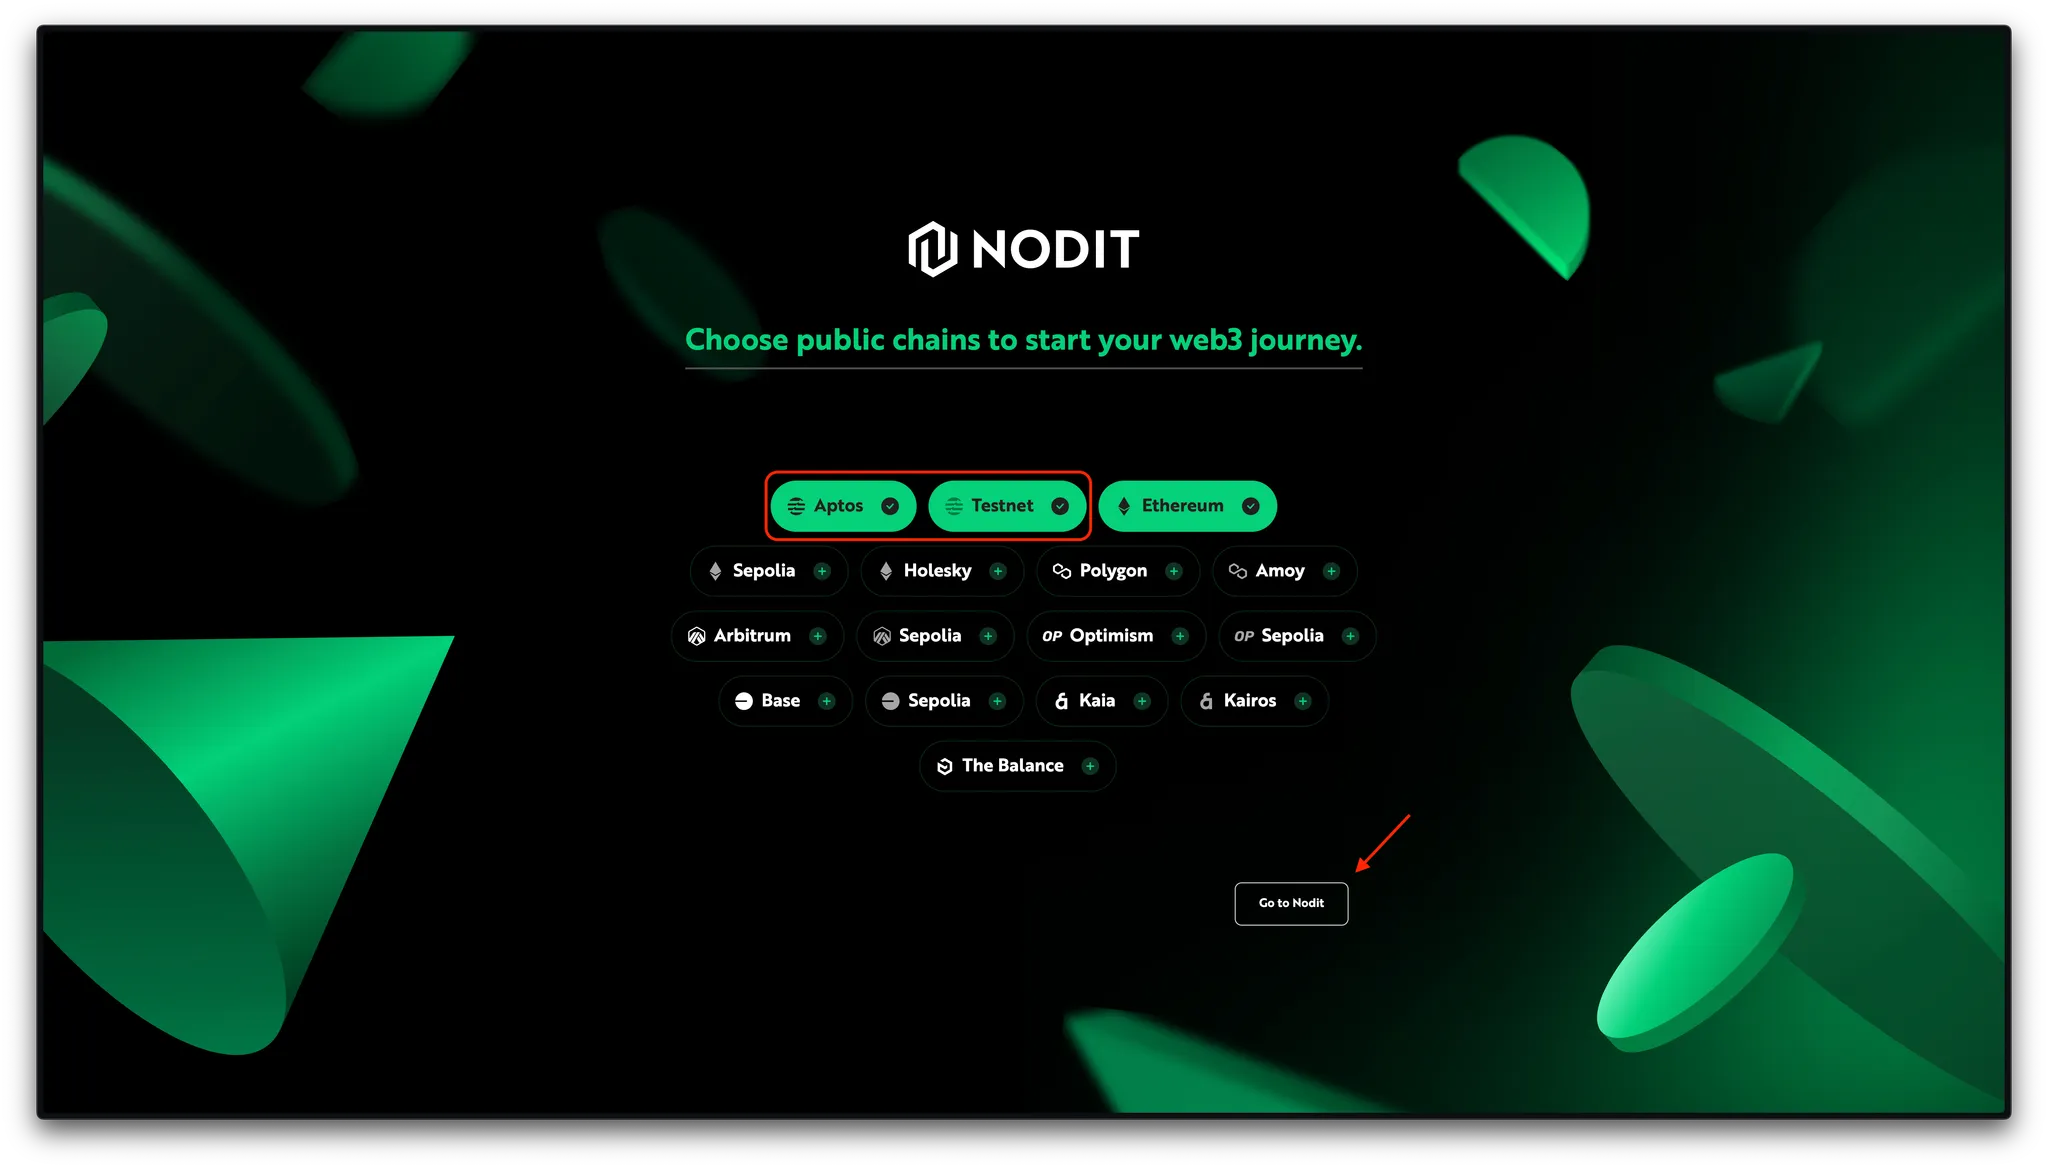
After signing up, the onboarding flow on your first login lets you create a project and connect the nodes it requires. Since this guide uses the Aptos Indexer API, make sure to select both Aptos Mainnet and Testnet, then click the Go to Nodit button.
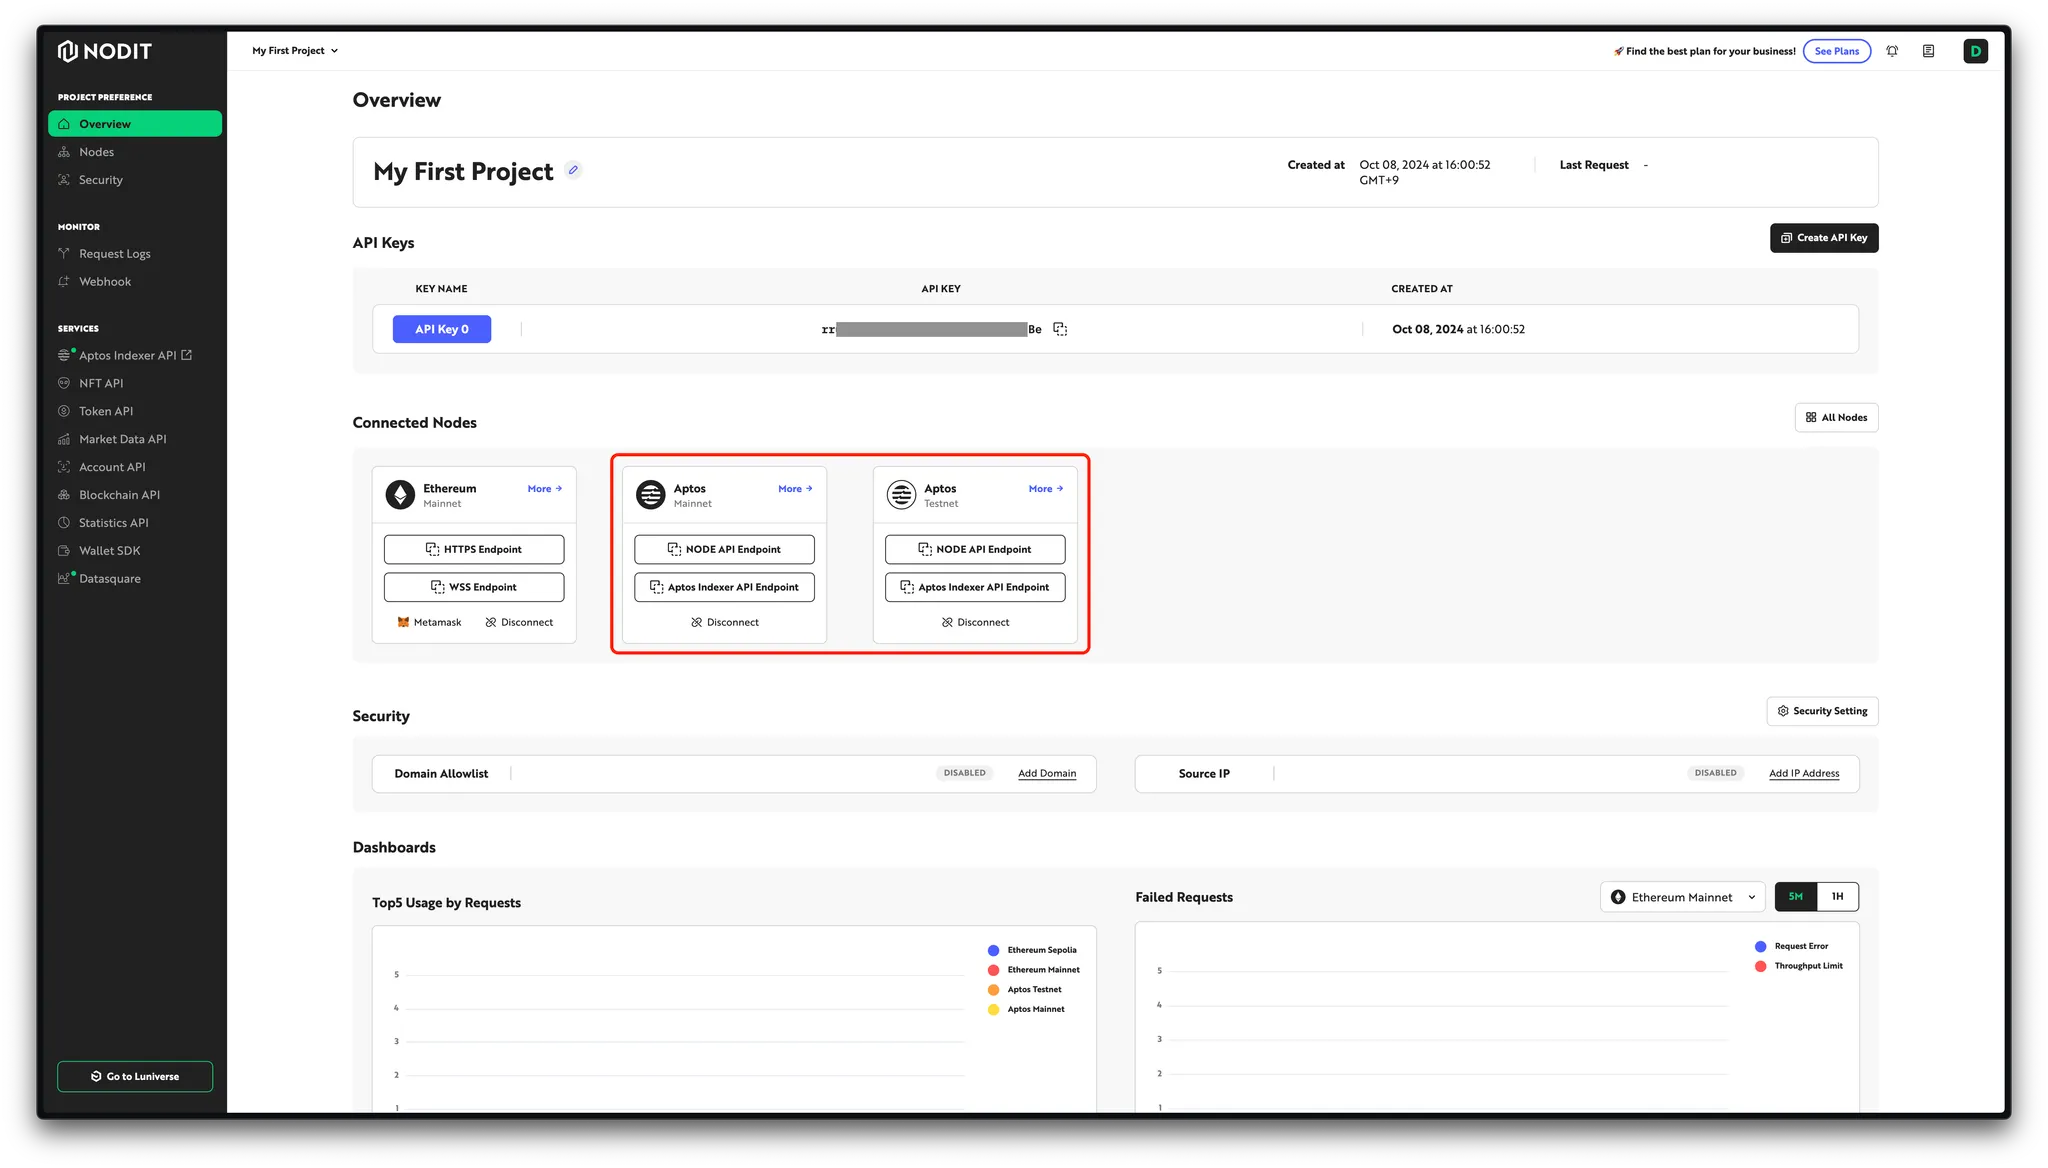
Once onboarding is complete, a new project is created with the selected nodes connected.
If you see Aptos Mainnet and Testnet cards in the Connected Nodes section of the project Overview page as shown below, the connection is successful.
:::success 📘 Did you miss selecting Aptos during onboarding?
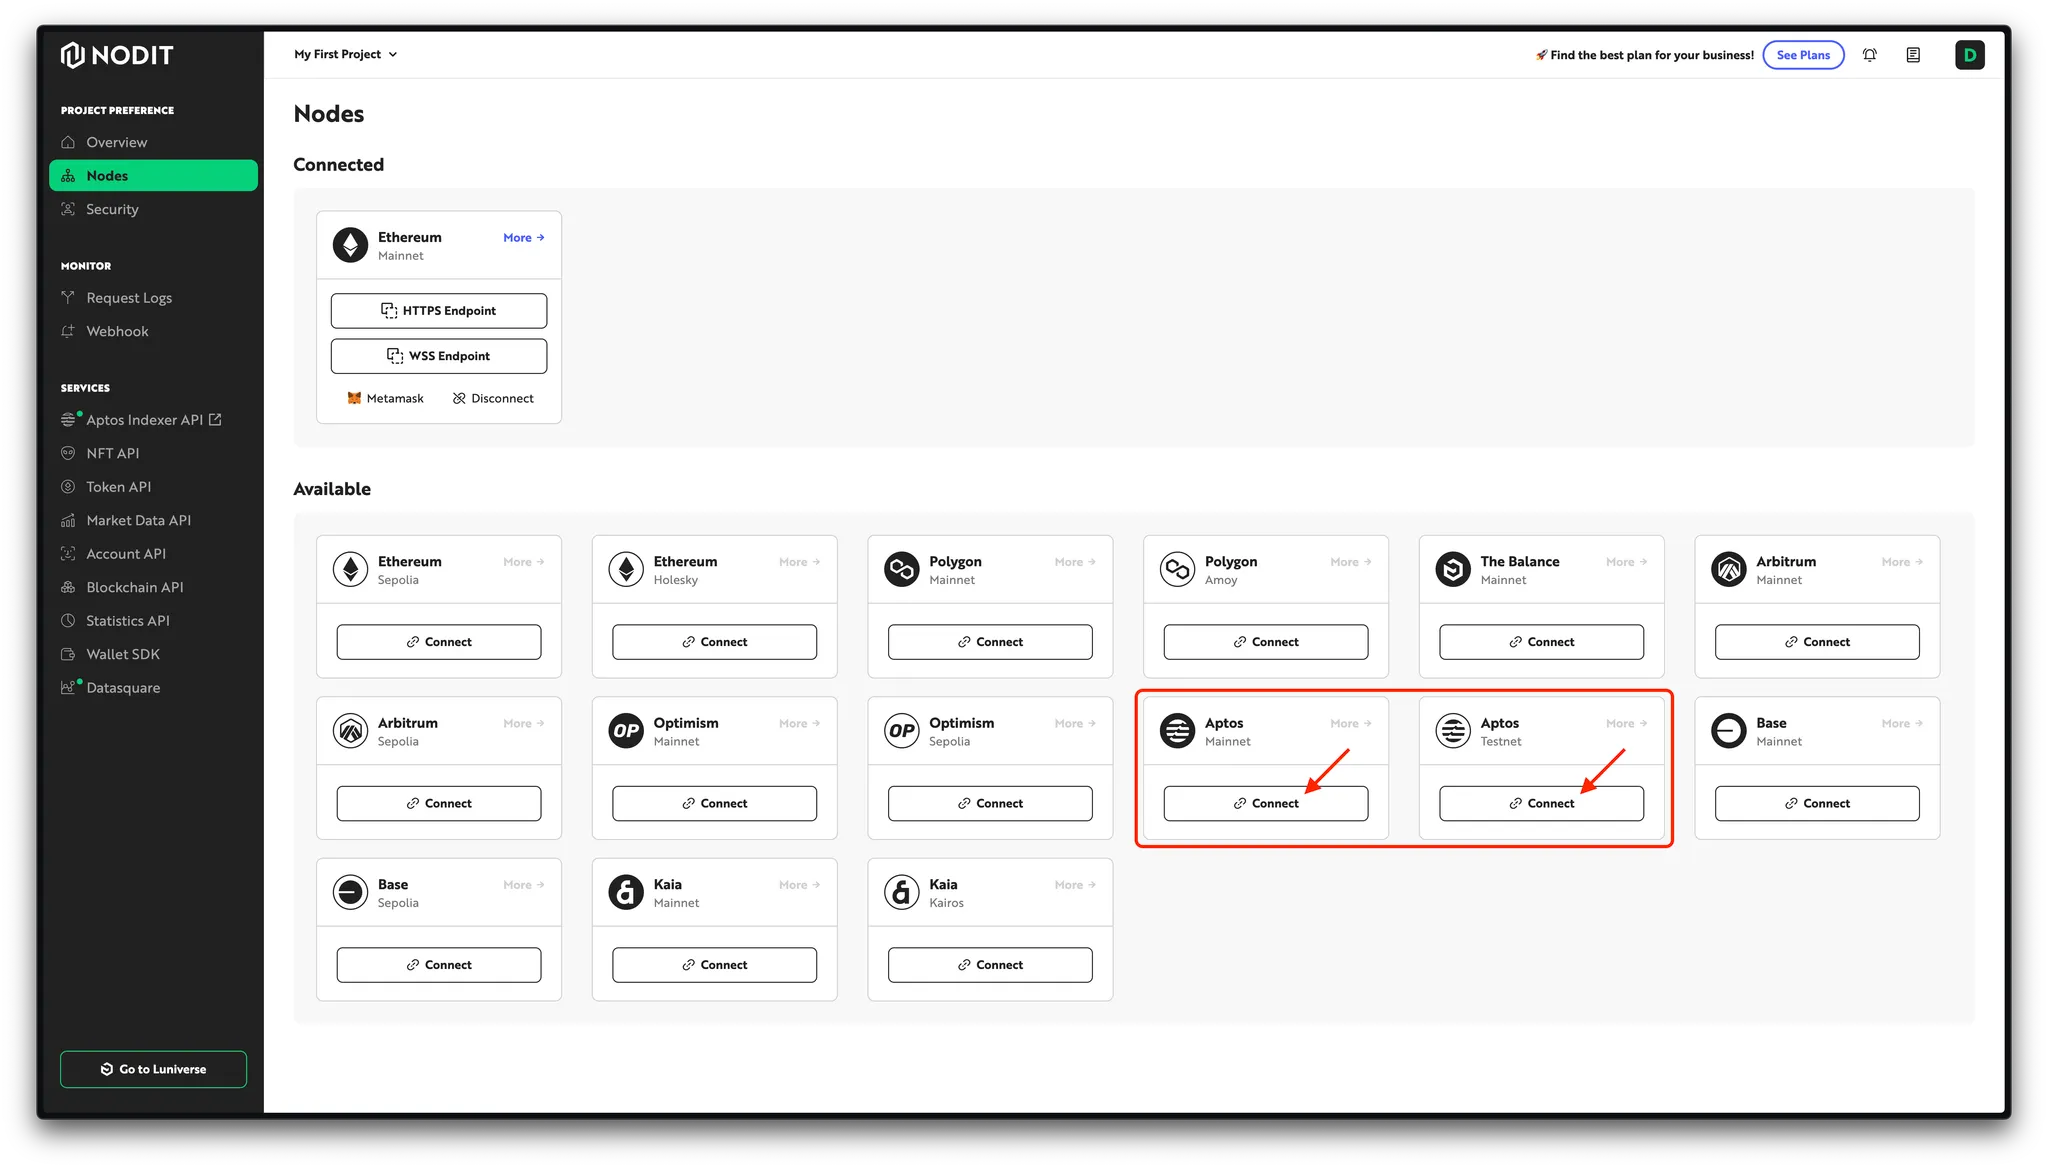
No worries. You can add or remove nodes for any chain from the Node dashboard page at any time.
For more details on node management, refer to the documentation below.
1.3. Get Indexer API Endpoint
The API Endpoint is the destination URL for Indexer API calls, assigned per node connected to your project. You can find it on the project Overview page or the Nodes page. Click the Indexer API Endpoint button for the target network (Aptos Mainnet or Aptos Testnet) and copy the value for safekeeping. Note that the Indexer API Endpoint includes your API Key, so take care not to expose it externally.

Everything is now set up to use Nodit. Let's start exploring the Indexer API.
2. Exploring Aptos Indexer API
In this chapter, you will learn how to query data using the Aptos Indexer API and write a simple query to retrieve real data. If you are unsure what query to write, try the Query Templates provided by Nodit.
▶ Link to Query Templates (Coin)
▶ Link to Query Templates (NFT)
In this session, you will query the list of Fungible Assets held by a specific account. Copy the query below and use it in the steps that follow.
query FA_Balances {
  current_fungible_asset_balances(
    limit: 10
    offset: 0
    where: {
	    owner_address: {
		    # You can change the below address
		    _eq: "0x0000000000000000000000000000000000000000000000000000000000000001"
	    }
    }
  )
  {
    owner_address
    amount
    asset_type
    token_standard
    metadata {
      asset_type
      creator_address
      decimals
      name
      symbol
      token_standard
      maximum_v2
      supply_v2
    }
  }
}
▶️ Link to Query template of "Get Fungible Asset Balances by Account"
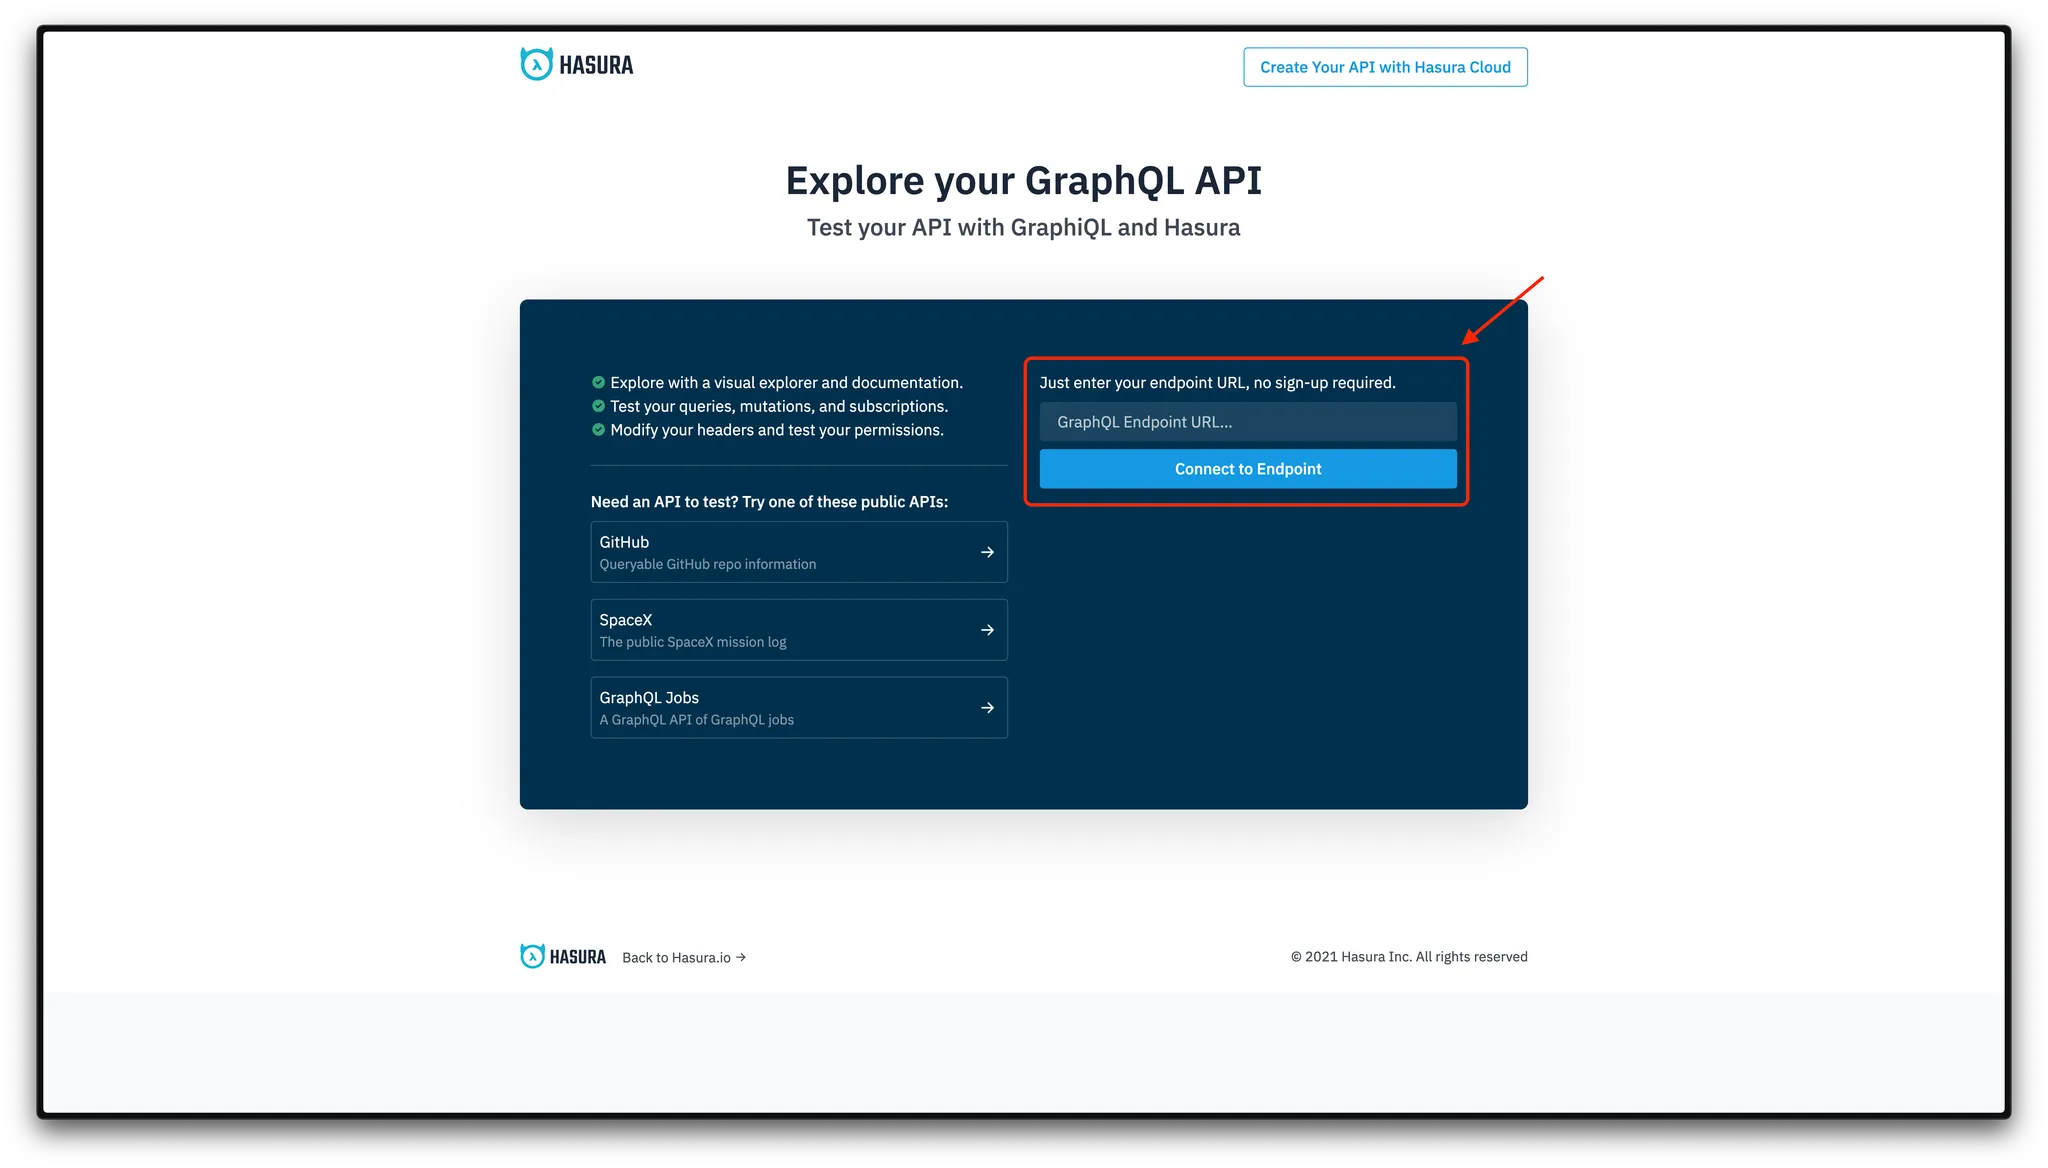
2. Try out using Hasura Cloud
Hasura is an open-source engine that provides real-time query and subscription capabilities against connected databases. You can use Hasura to test the Indexer API easily.
Click the link below to access Hasura Cloud.
Enter the Indexer API Endpoint you copied in Chapter 1 to connect.
Similar to the Nodit documentation, the center of the page is where you write and execute queries and view responses, while the left side shows the schema and available fields.
Paste the query provided above, then click the run button (▶️) to see the response.
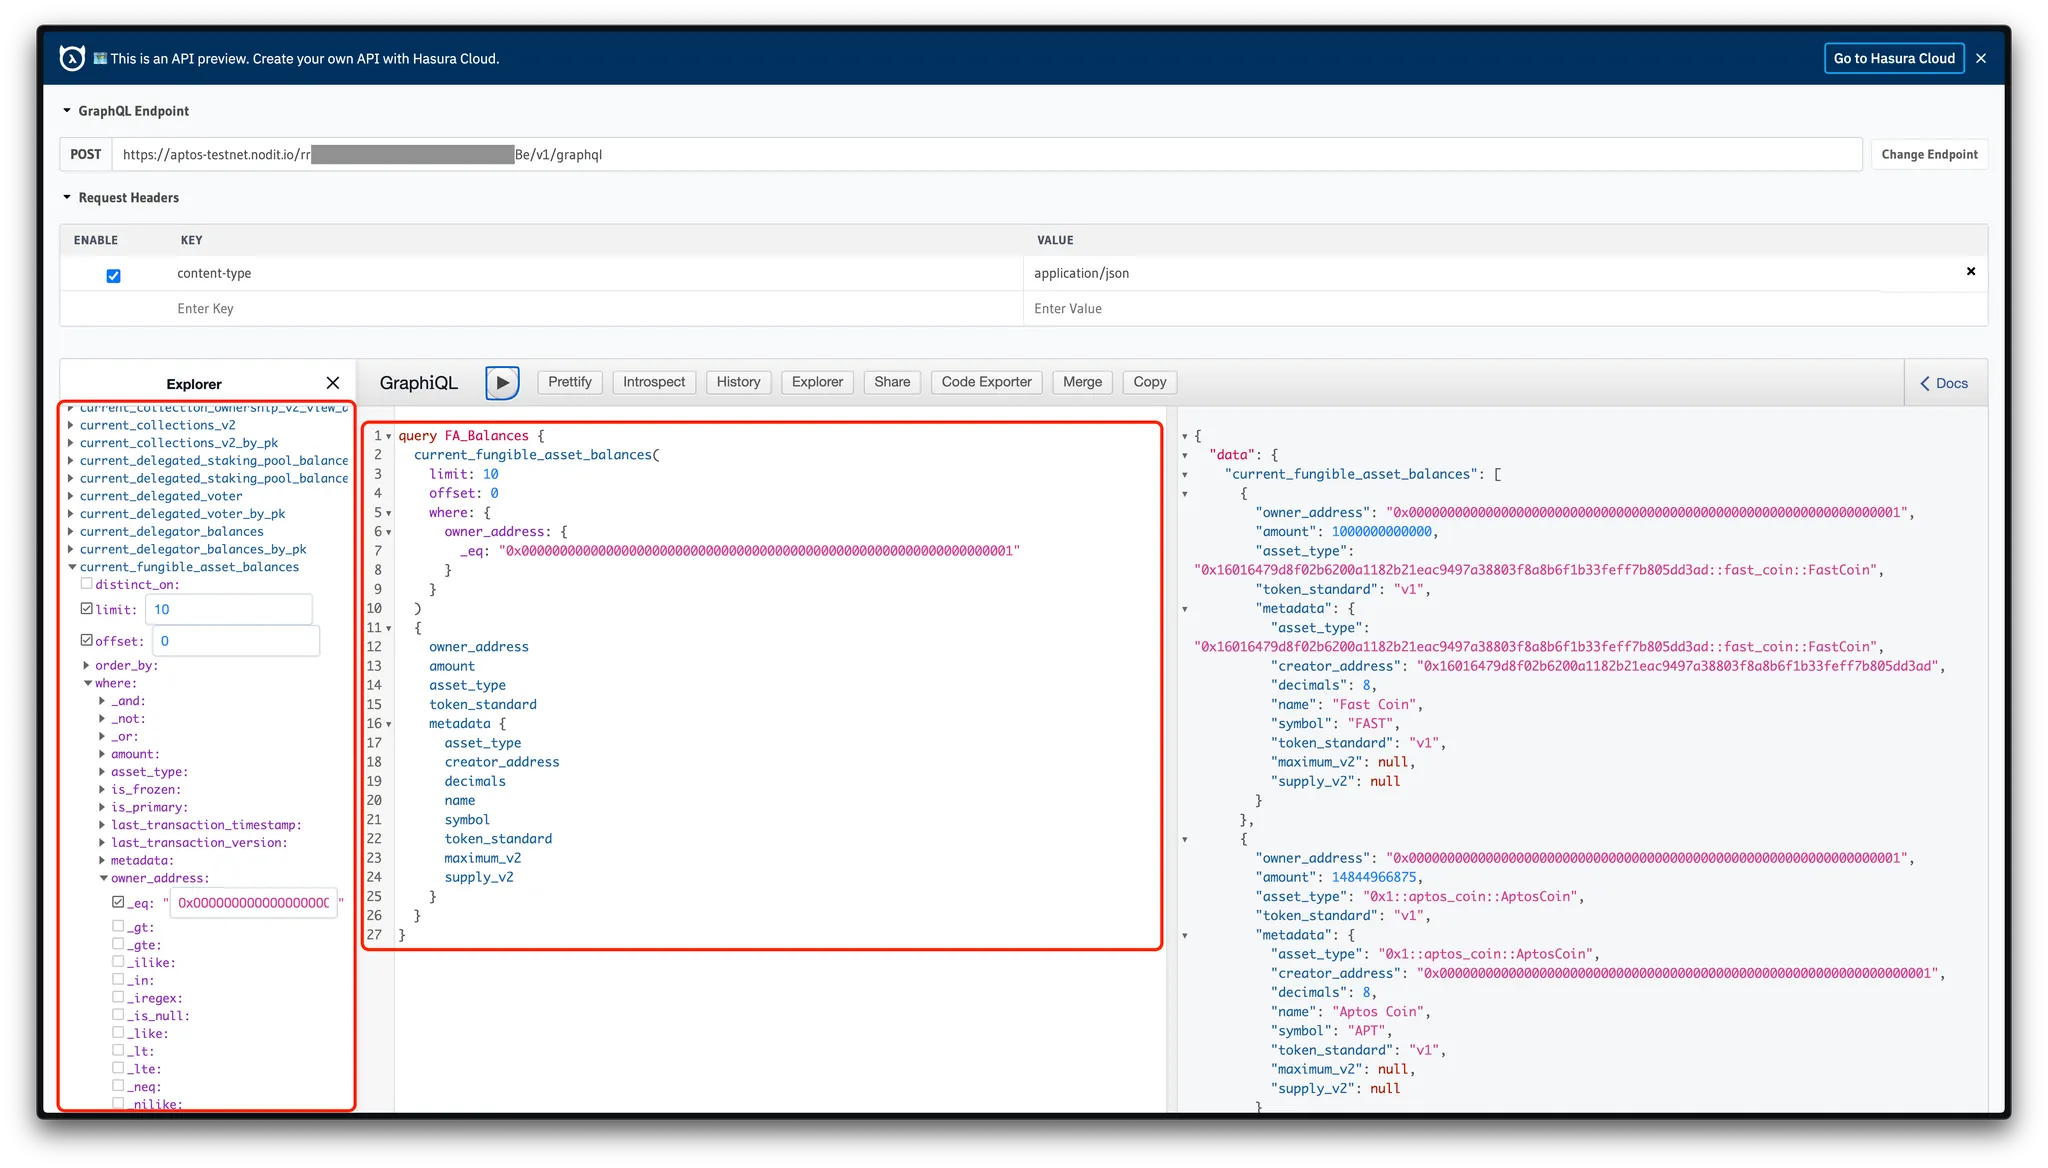
Congratulations. You can now successfully query data using the Aptos Indexer API. Use what you have learned in this guide to write queries tailored to your own project and integrate the Aptos Indexer API into your work.