Team Account
If you operate projects as a team, convert your account to a team account to share resources with multiple team members. The sections below cover the full process, from converting to a team account to managing members.
Account Types: Team Owner & Team Member
Team accounts are categorized into two types: Team Owner and Team Member, each with different levels of permissions.
A Team Owner account is an administrative account with full control over team operations, including billing management, subscription plan changes, coupon and credit usage, as well as team and member management. Any account that is not currently part of another team can be converted into a team account. Upon conversion, all projects owned by the account are shared as team projects.
Once an account is converted to a Team Owner account, it no longer supports a personal account mode and can only operate in team account mode. Additionally, a Team Owner account cannot participate as a Team Member in other team projects.
A Team Member is a user account that has been invited to the team. Each project can assign roles such as Admin, Editor, or Viewer to team members. Team Members' project access and available actions are restricted based on their assigned role, and the Team Owner can change each member's role as needed.
Team Member accounts can freely switch between personal account mode and team account mode, and retain their administrator privileges over their personal projects.
The table below compares the feature permissions for each account type.
| Feature | Team Owner | Admin | Editor | Viewer |
|---|---|---|---|---|
| Switch between Personal ↔ Team account | ❌ | ✅ | ✅ | ✅ |
| Manage payment methods | ✅ | ❌ | ❌ | ❌ |
| Change plan | ✅ | ❌ | ❌ | ❌ |
| View and use coupons | ✅ | ❌ | ❌ | ❌ |
| View and use Credit | ✅ | ❌ | ❌ | ❌ |
| View Project Dashboard | ✅ | ✅ | ✅ | ✅ |
| View Project Members | ✅ | ✅ | ✅ | ✅ |
| Edit Project Members Role | ✅ | ✅ | ❌ | ❌ |
| Delete Project Members | ✅ | ✅ | ❌ | ❌ |
| Invite team members | ✅ | ✅ | ❌ | ❌ |
| Delete team members | ✅ | ❌ | ❌ | ❌ |
| View Team Account Dashboard | ✅ | ✅ | ✅ | ✅ |
| Edit Project Name | ✅ | ✅ | ✅ | ❌ |
| View API Keys | ✅ | ✅ | ✅ | ❌ |
| Create and delete Team Project API Keys | ✅ | ✅ | ✅ | ❌ |
| View Project Security settings | ✅ | ✅ | ✅ | ✅ |
| Edit Project Security settings | ✅ | ✅ | ✅ | ❌ |
| View Request Logs | ✅ | ✅ | ✅ | ✅ |
| View Webhooks | ✅ | ✅ | ✅ | ✅ |
| Create, edit, delete Webhooks | ✅ | ✅ | ✅ | ❌ |
| Configure Auto Scaling | ✅ | ❌ | ❌ | ❌ |
| Max joinable team projects | 0 | 3 | 3 | 3 |
:::warning Team accounts require a paid plan.
Converting to a team account by creating a team requires the Starter Plus plan or higher. For details on available plans and their limitations, refer to the Pricing Plans documentation. :::
Converting to Owner Account
Any account that has not been invited to a separate team project since initial sign-up can convert to a Team Owner account through the console. Follow the steps below to convert your account and invite members.
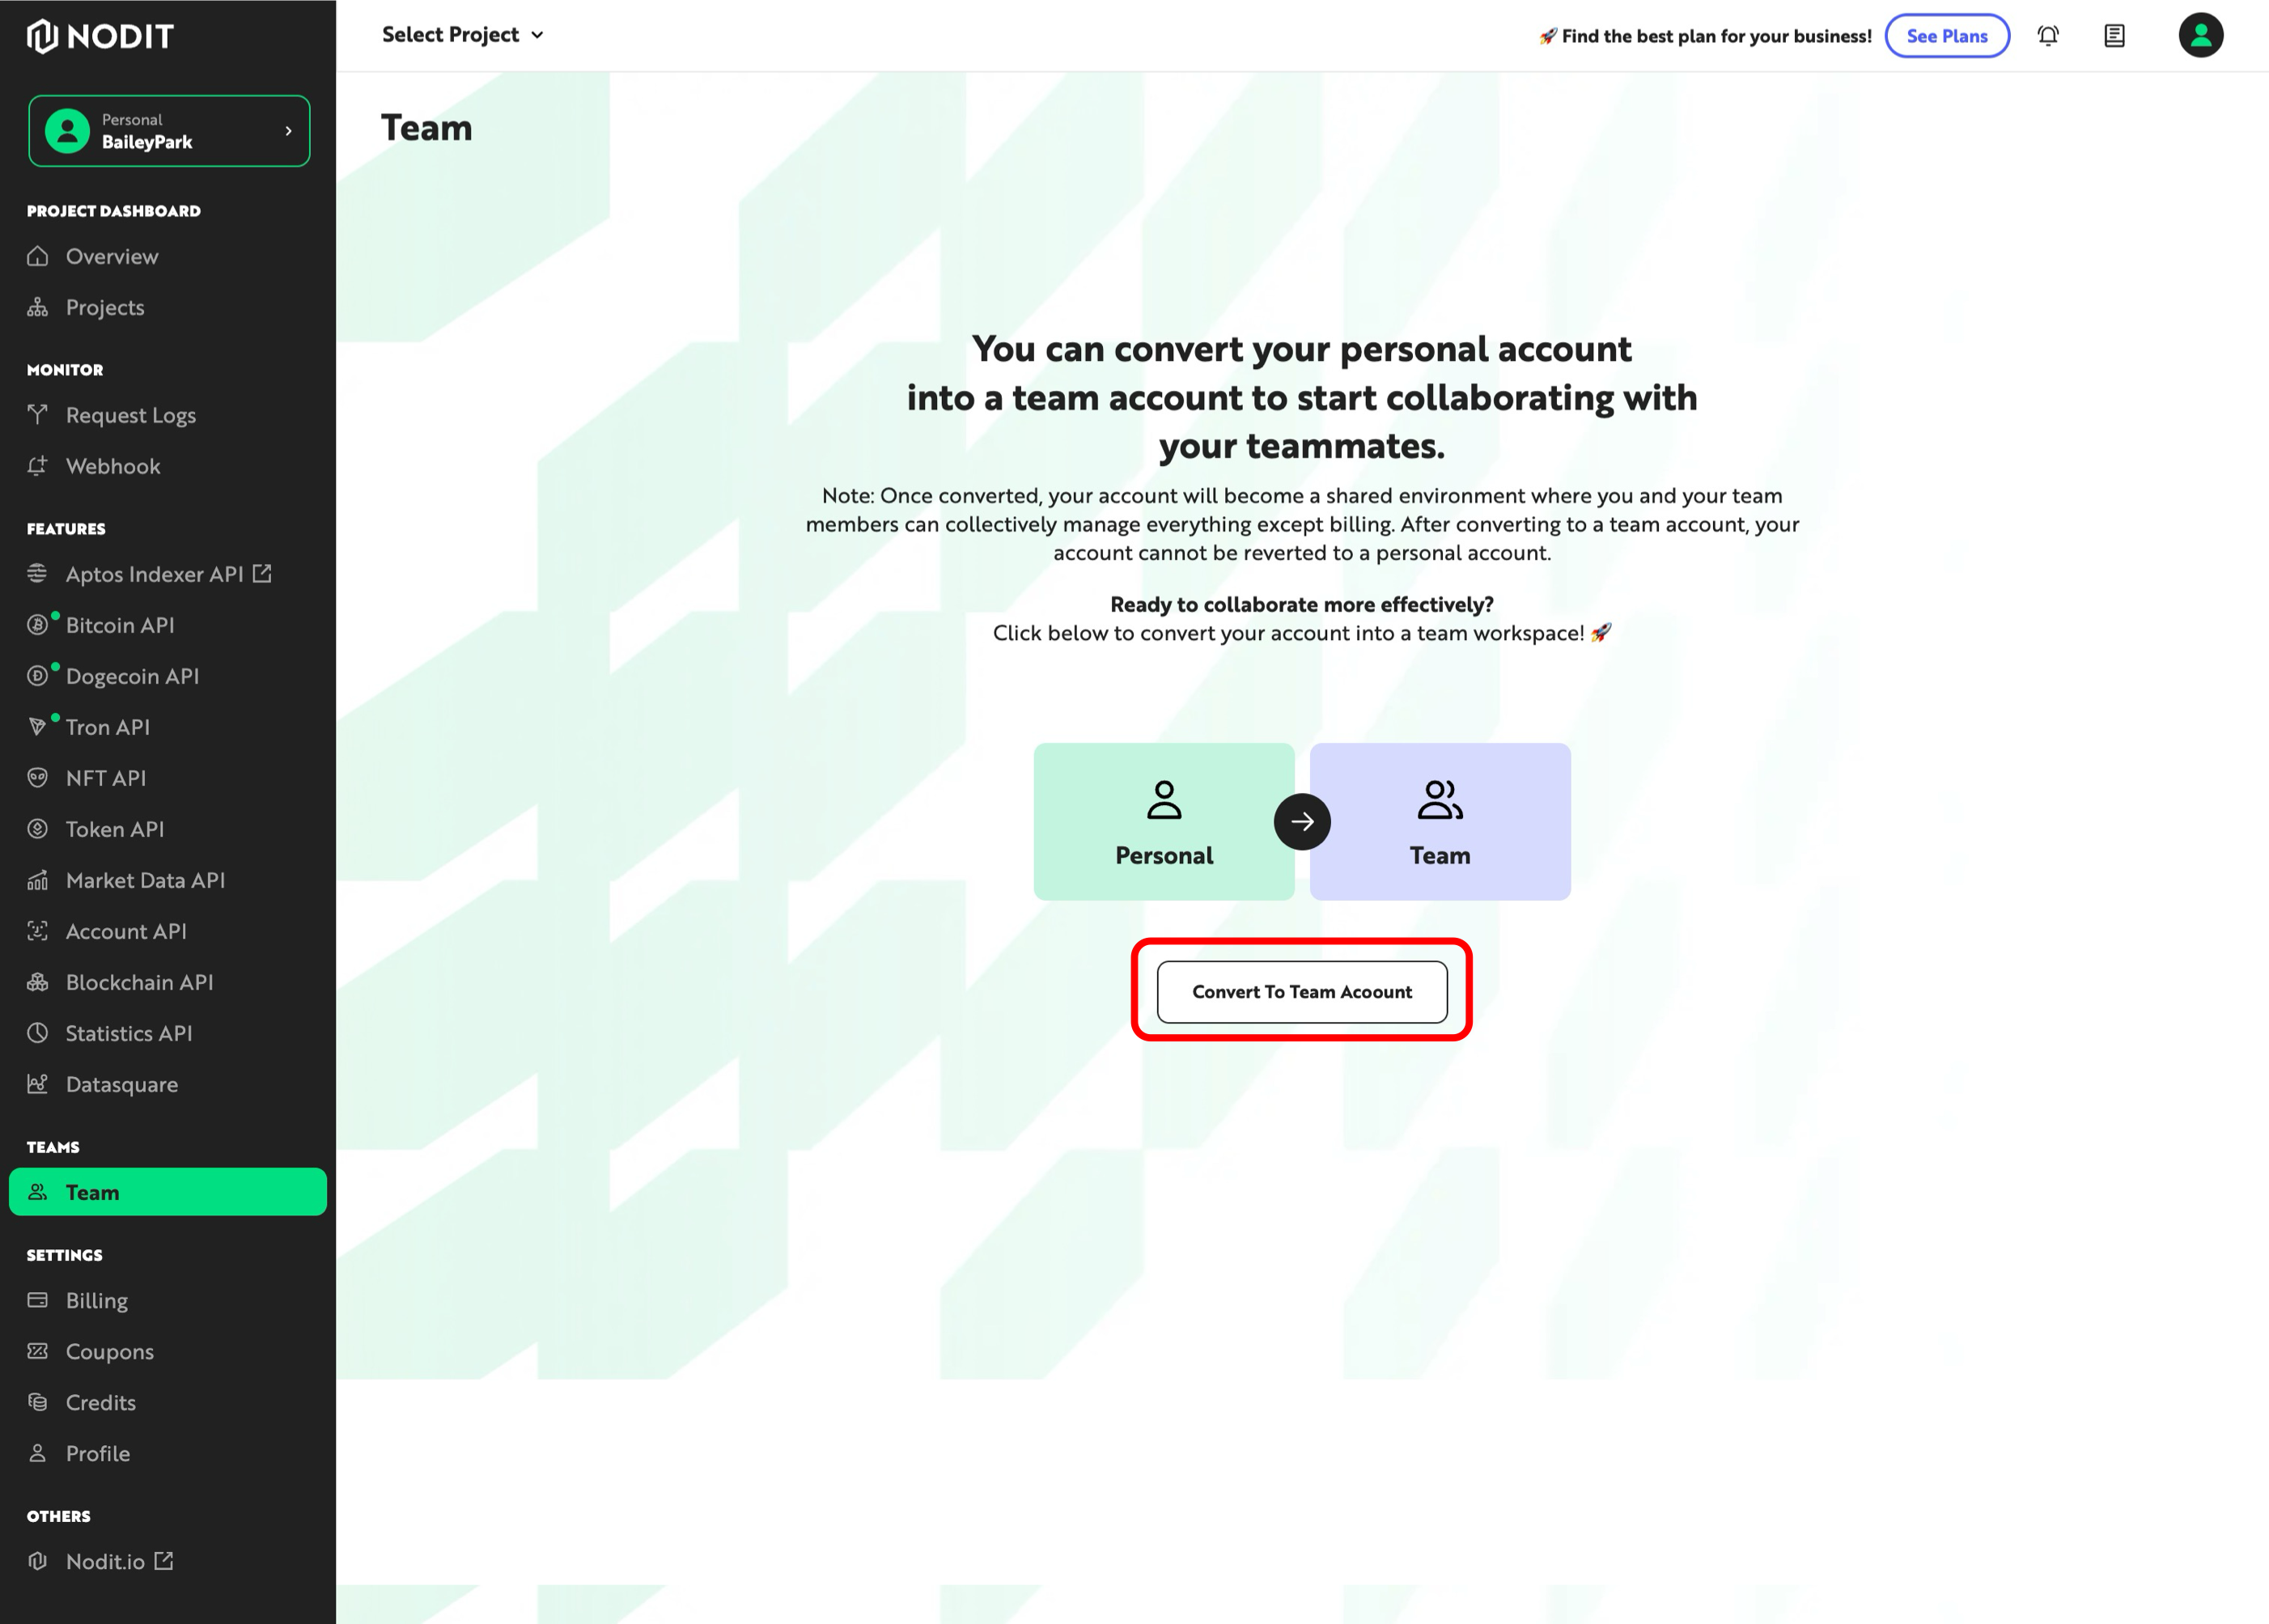
- In the left sidebar of the console, click [Team] to go to the Team settings page.
- To convert your account to a Team Owner account and transition your personal projects to team projects, click [Convert To Team Account].
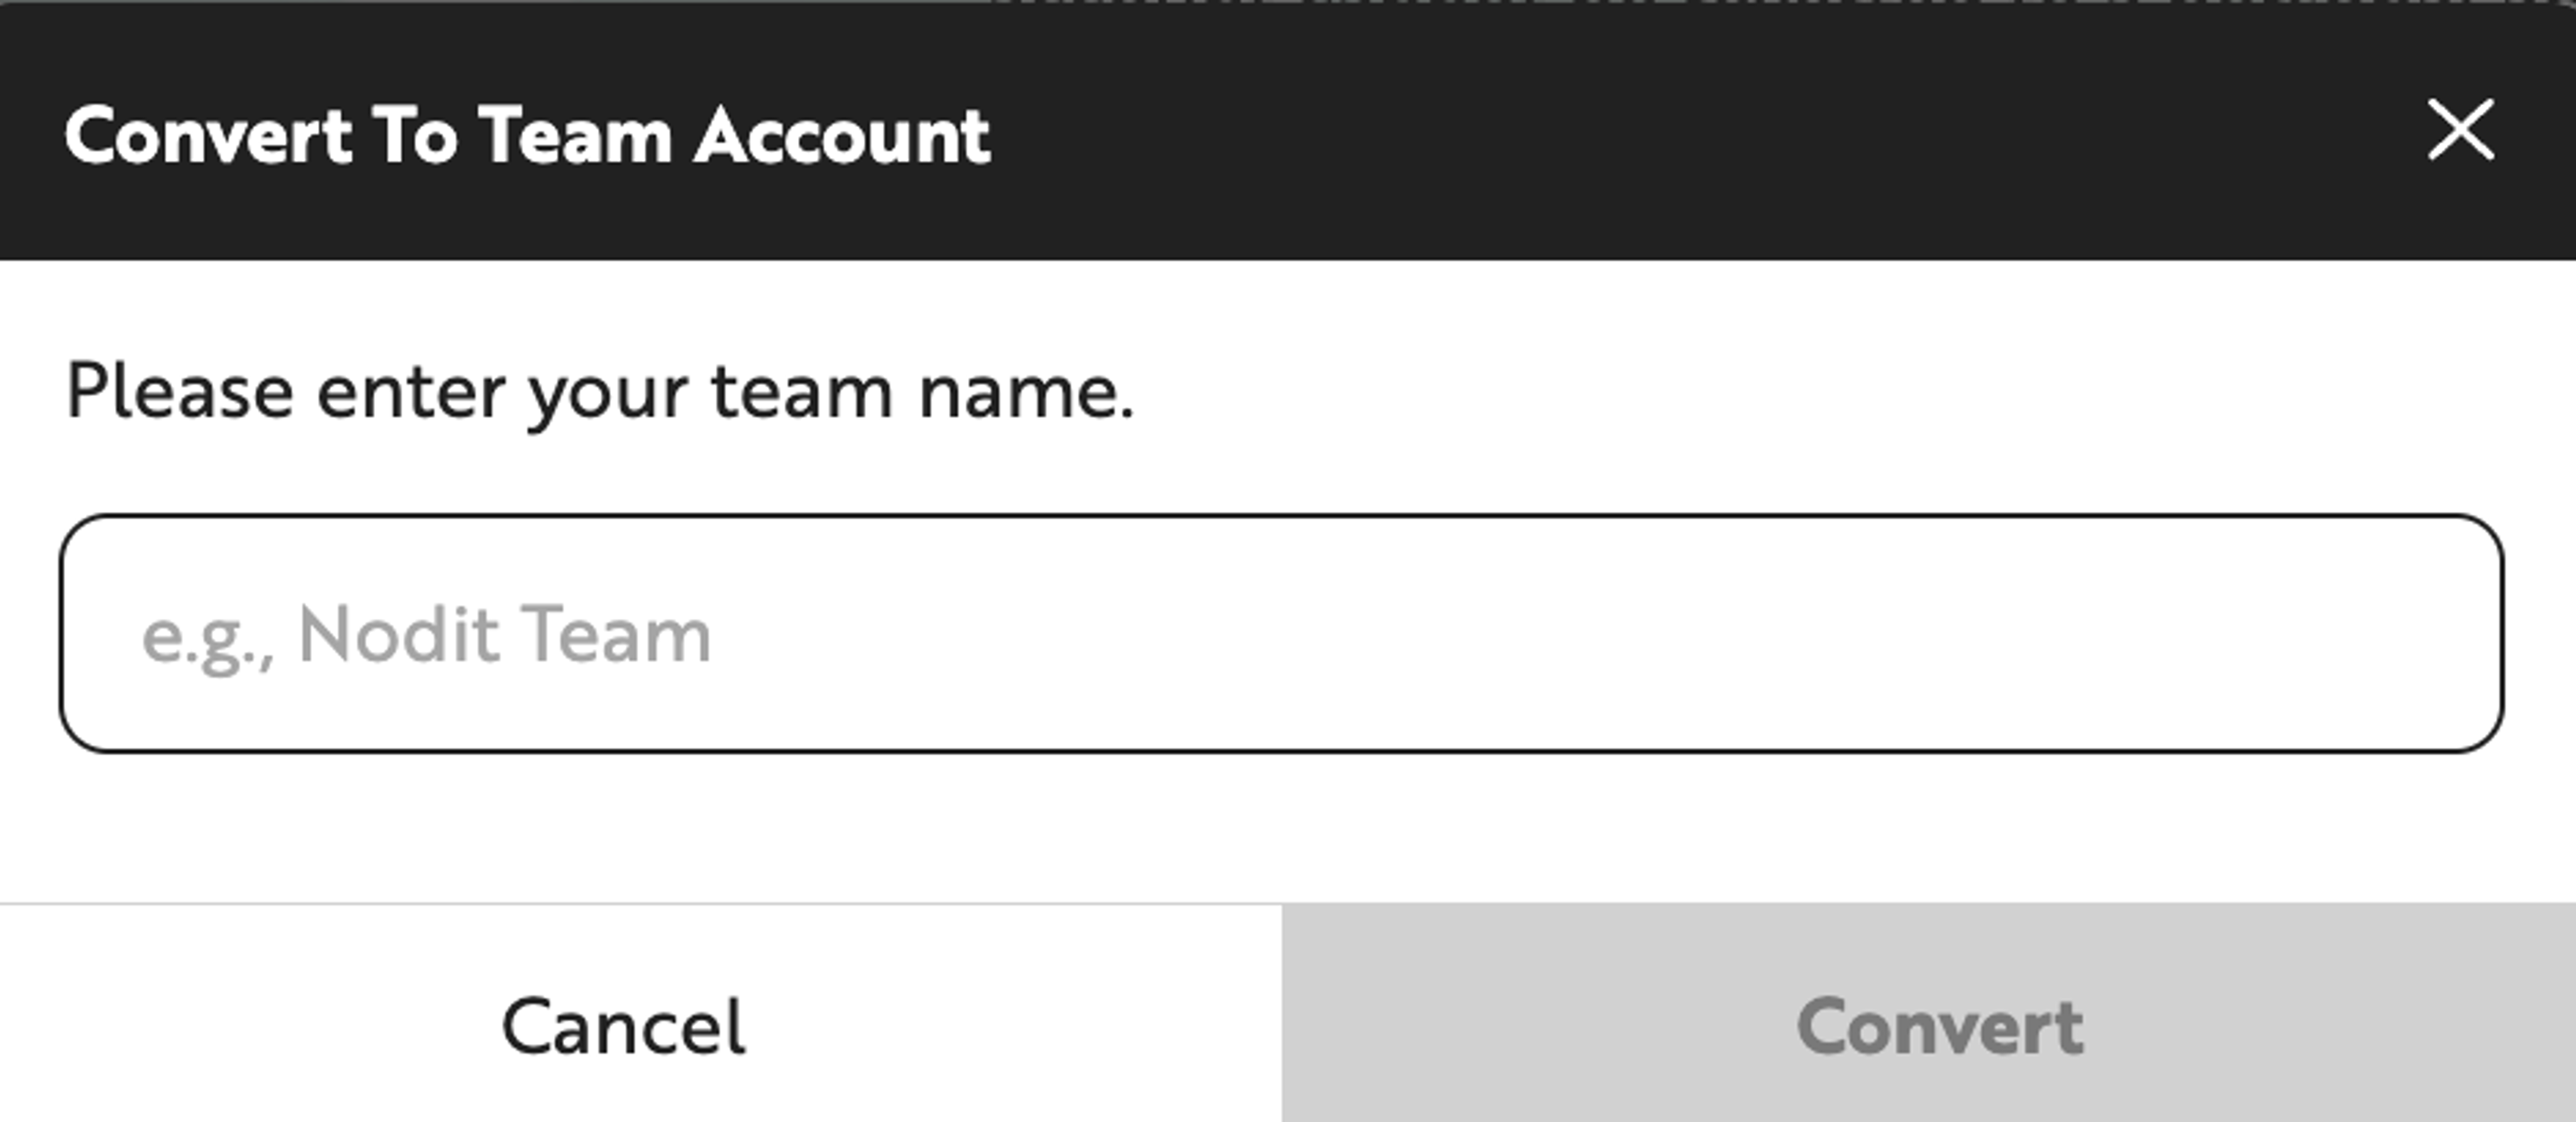
- When the team name setup popup opens, enter the team name and click [Convert]. The team name can be changed later from the team management menu.
- Once the team is created, the account mode indicator at the top of the console switches to team account mode.

Inviting Members
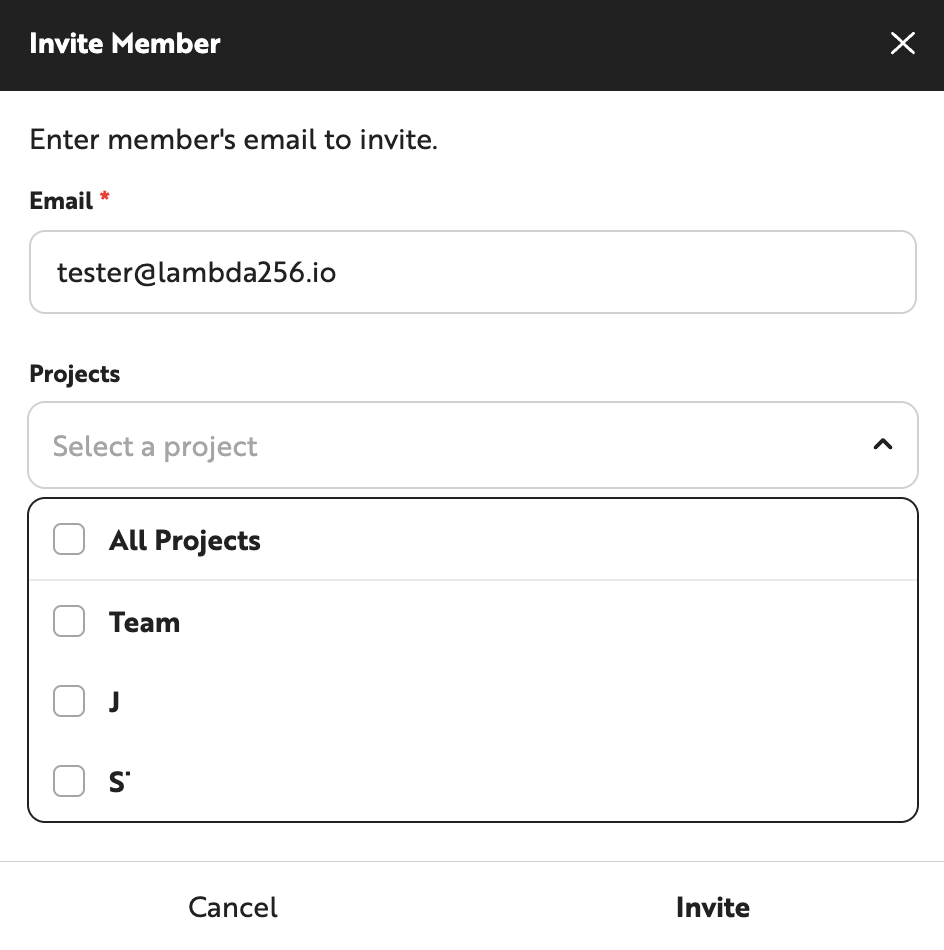
- In the Team settings screen, click the [+ Add Member] button.

- Enter an email address to identify the member to invite, and assign a role per project.
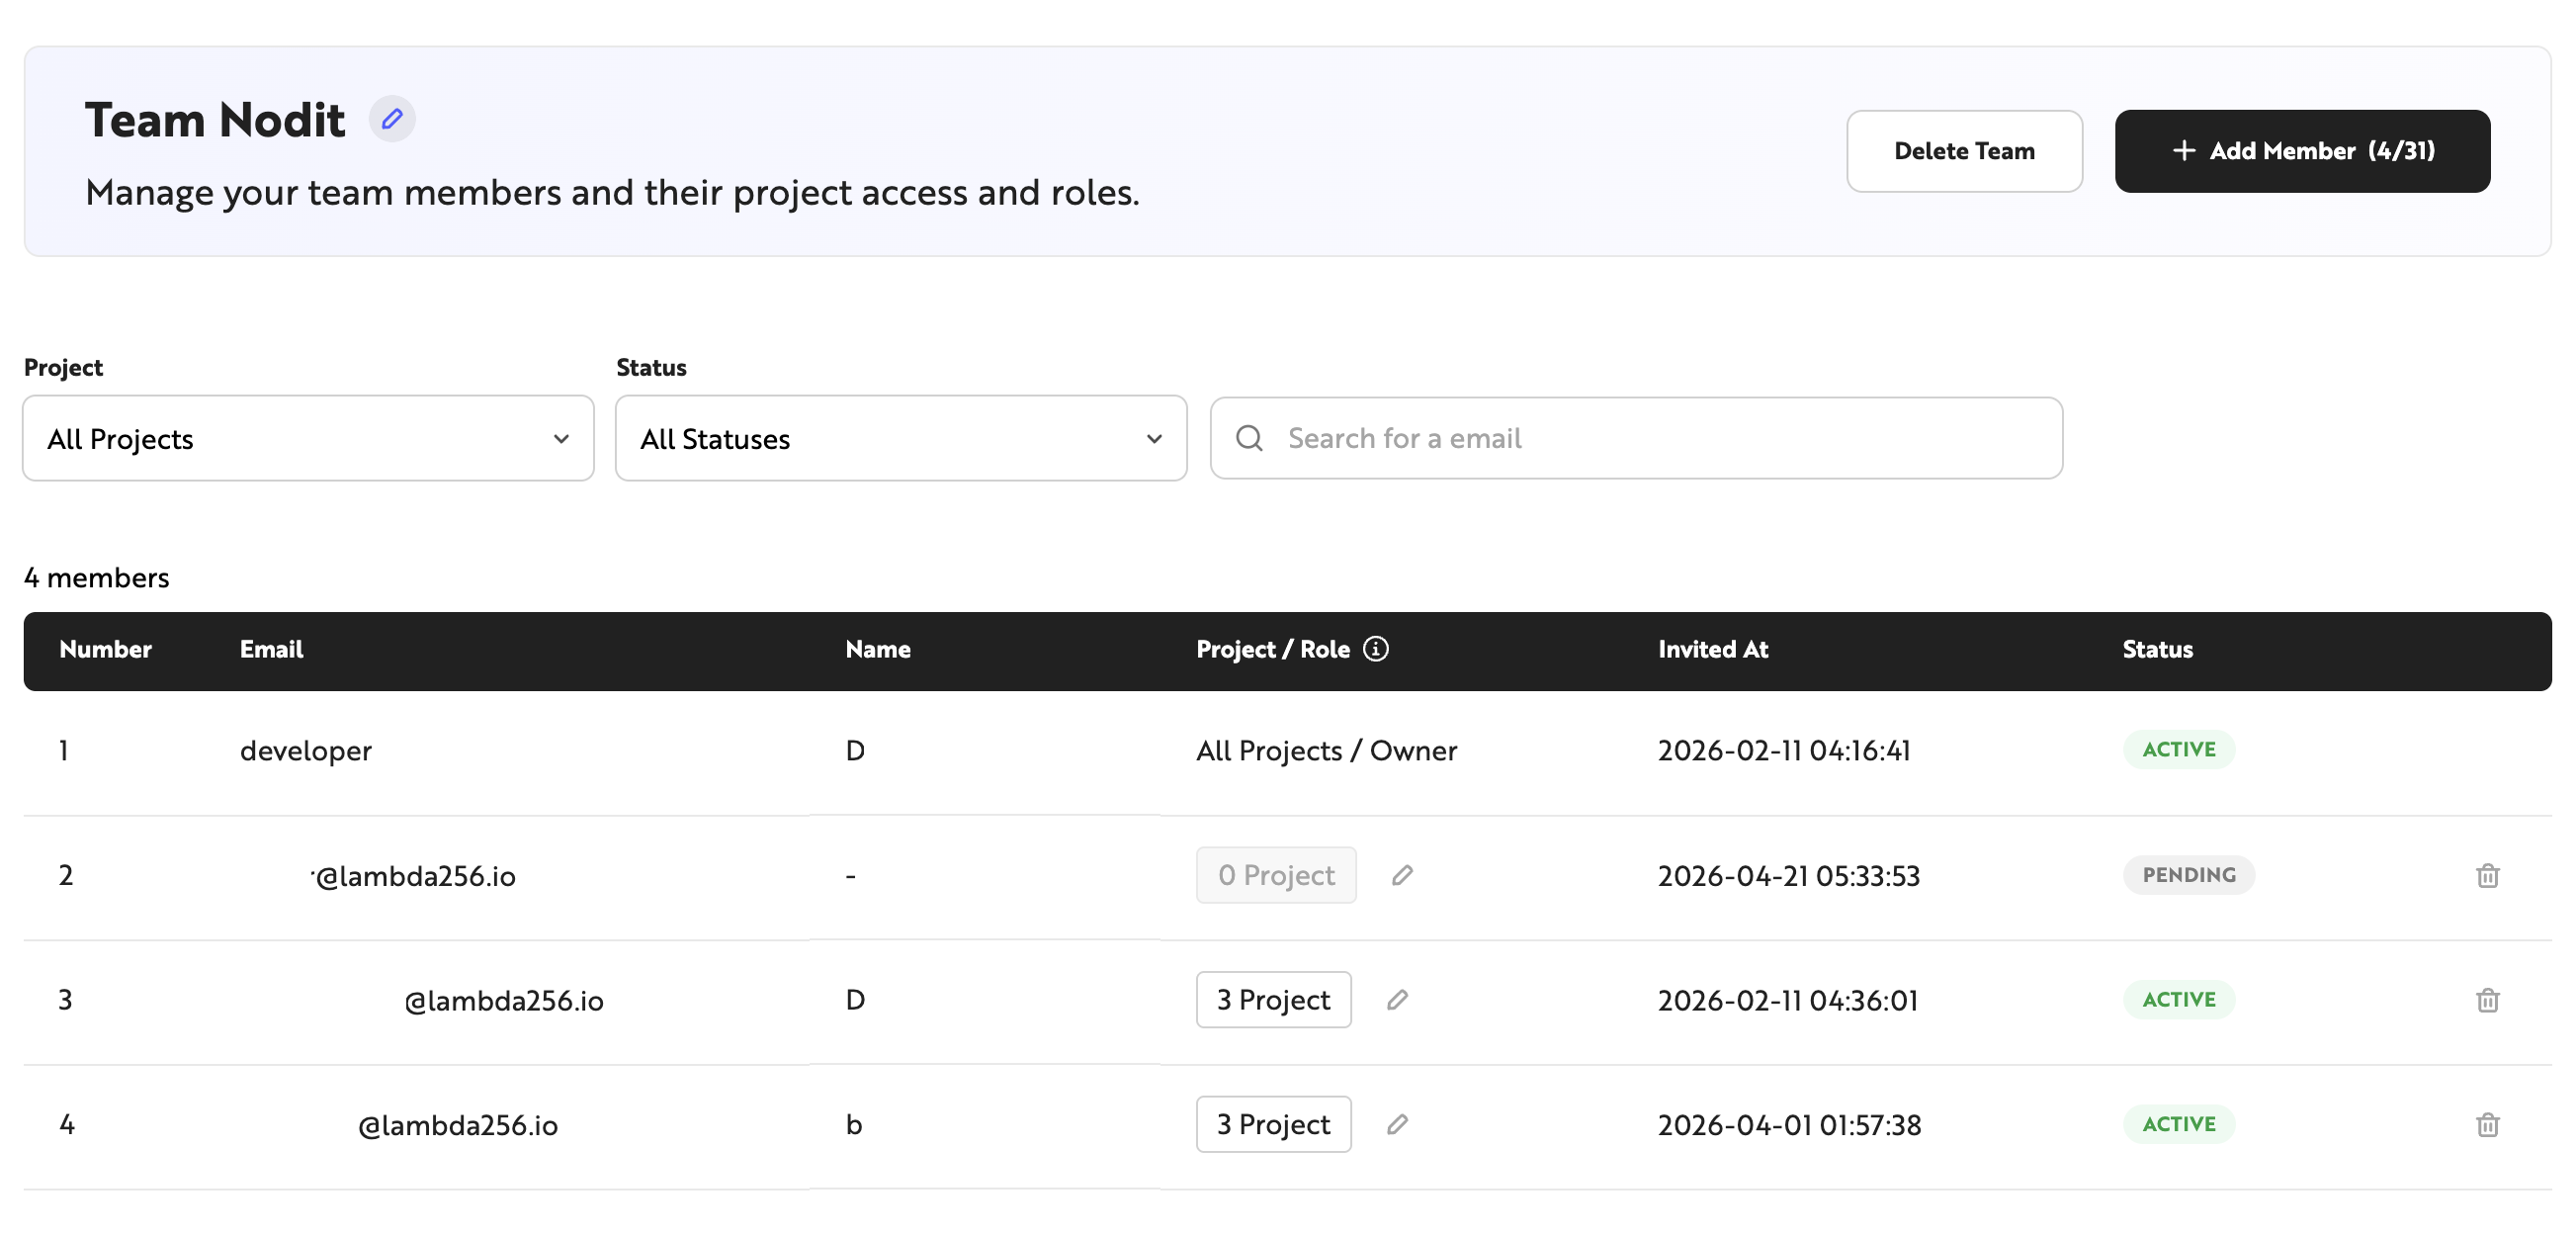
- From the Team settings screen, you can check the invitation acceptance status of invited users, as well as the accessible projects and their assigned roles.
Accepting an Invitation
A Team Member account invited to a team project by the Team Owner or another team member can accept the invitation and join the team project as follows.
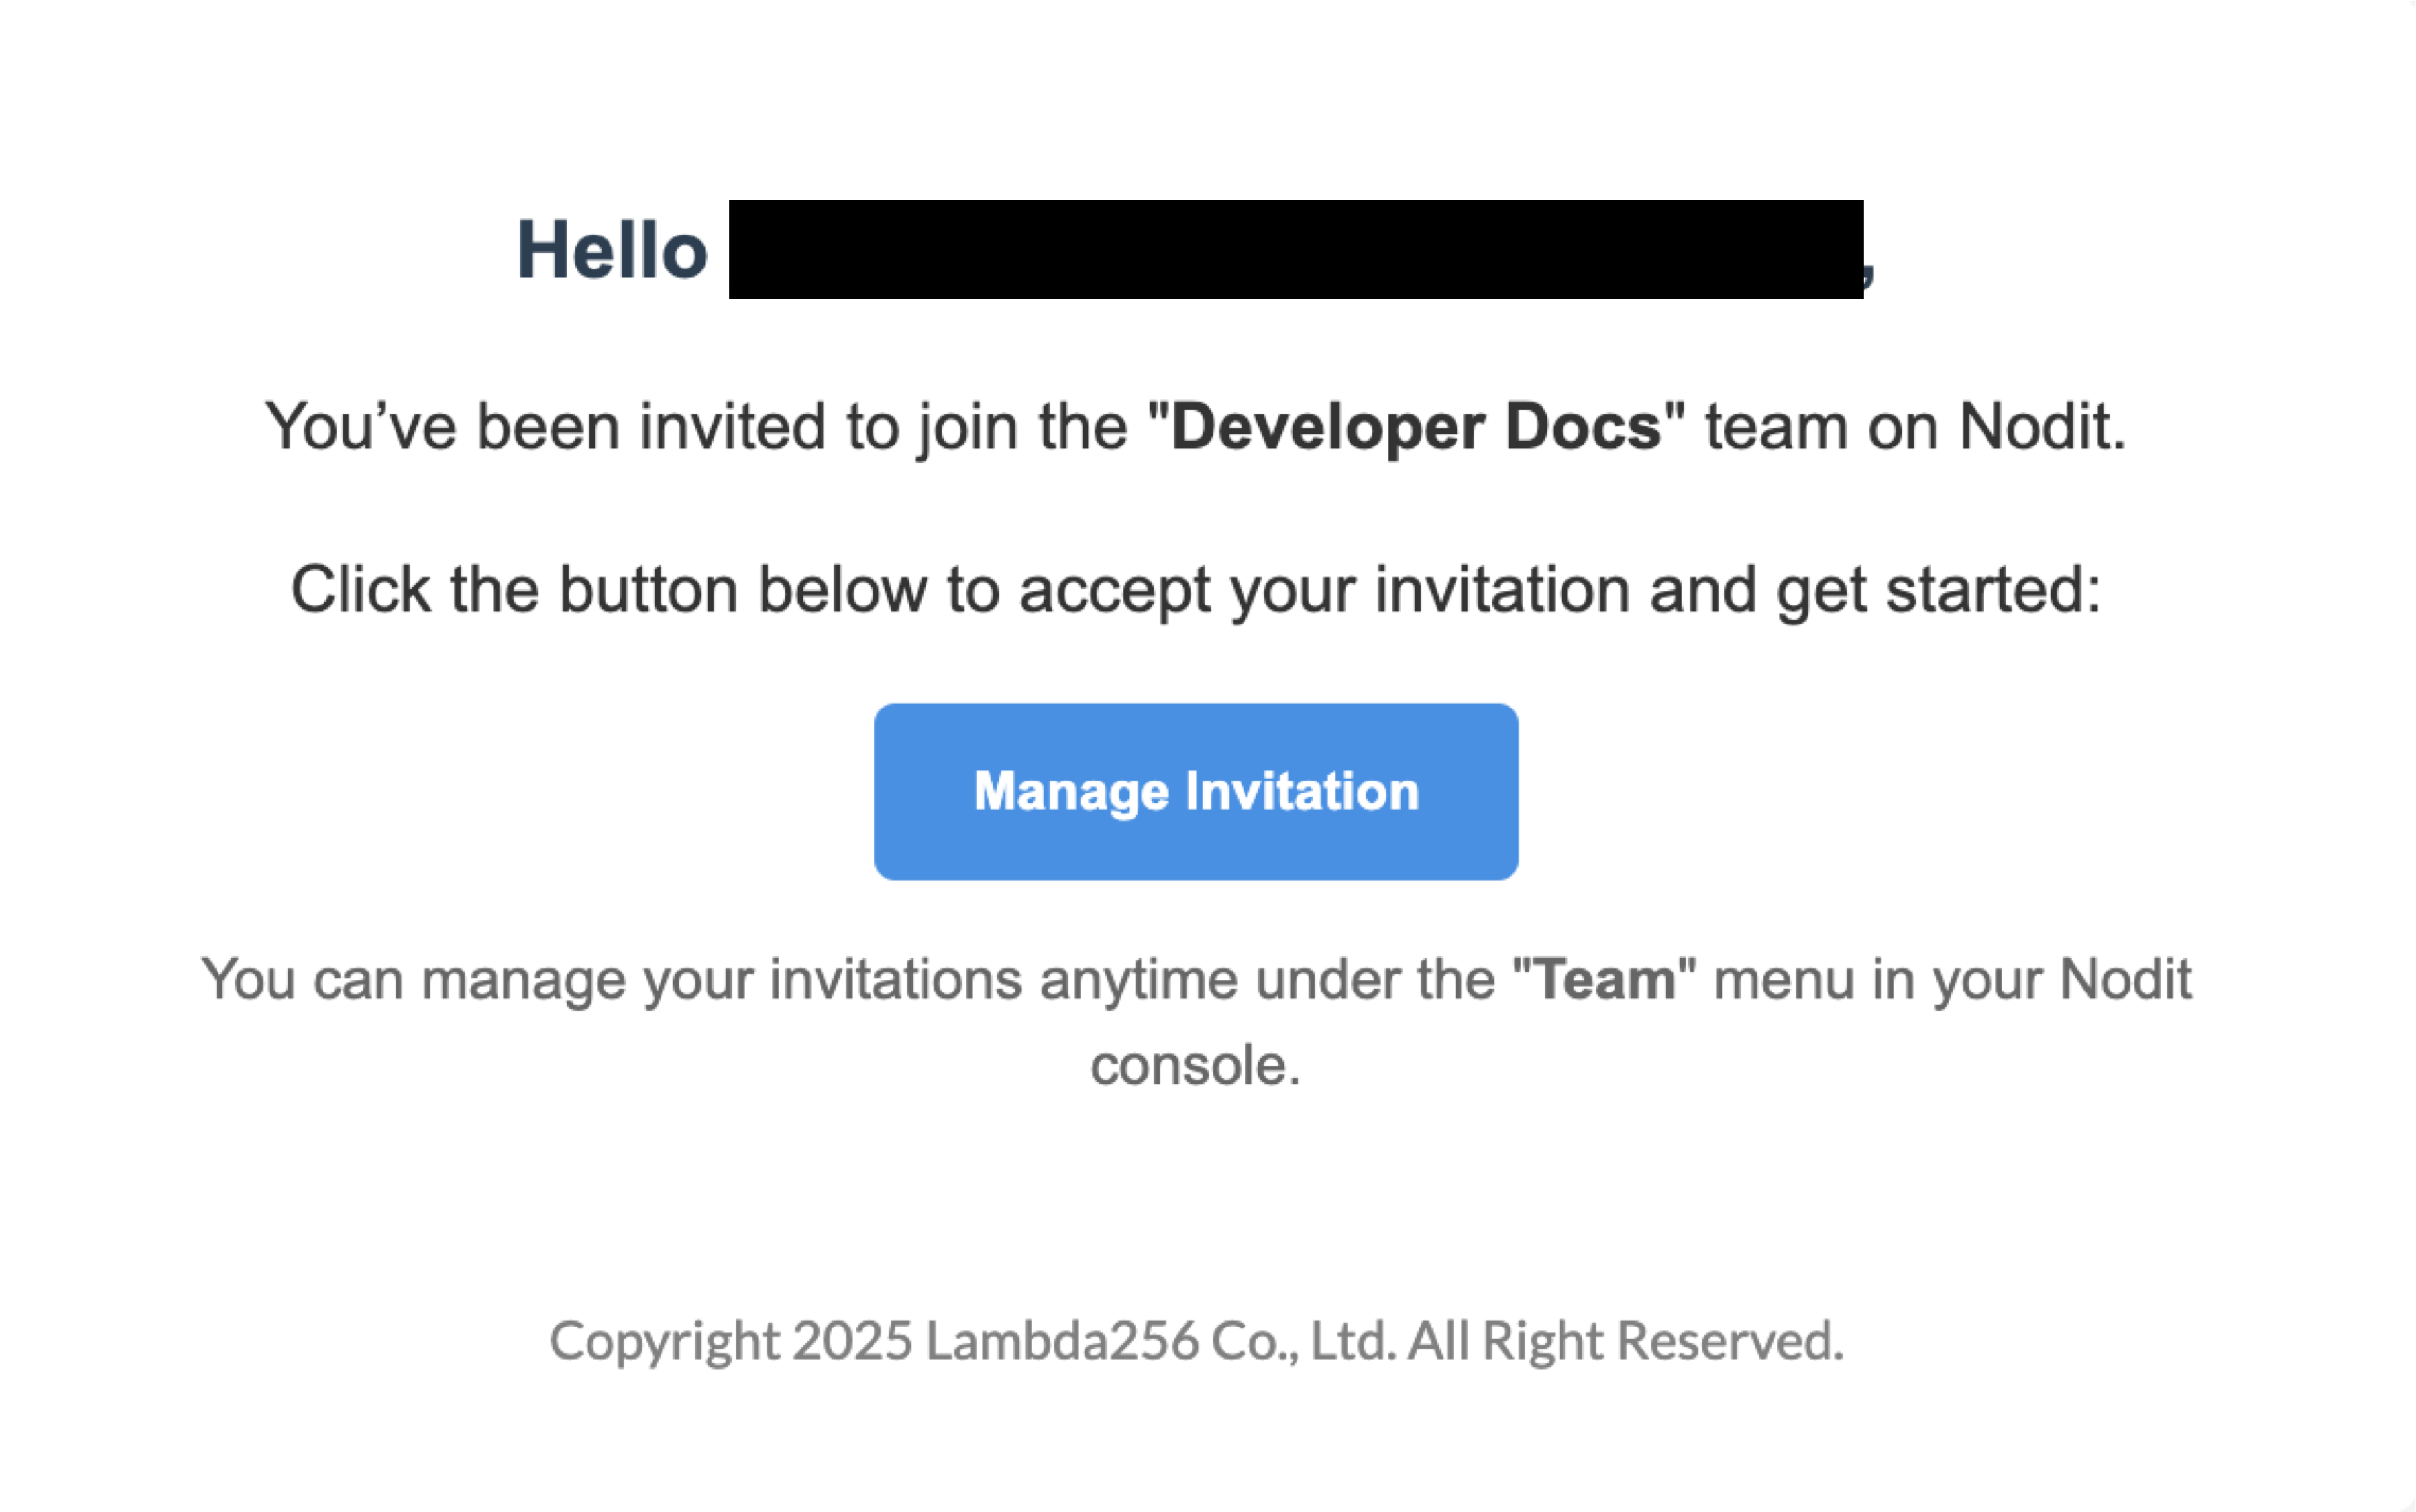
- Check the invitation email sent to your account's email address, then click [Manage Invitation] to go to the console. If you did not receive the email, navigate directly to the Team menu in the console using the invited account to view the invitation message.
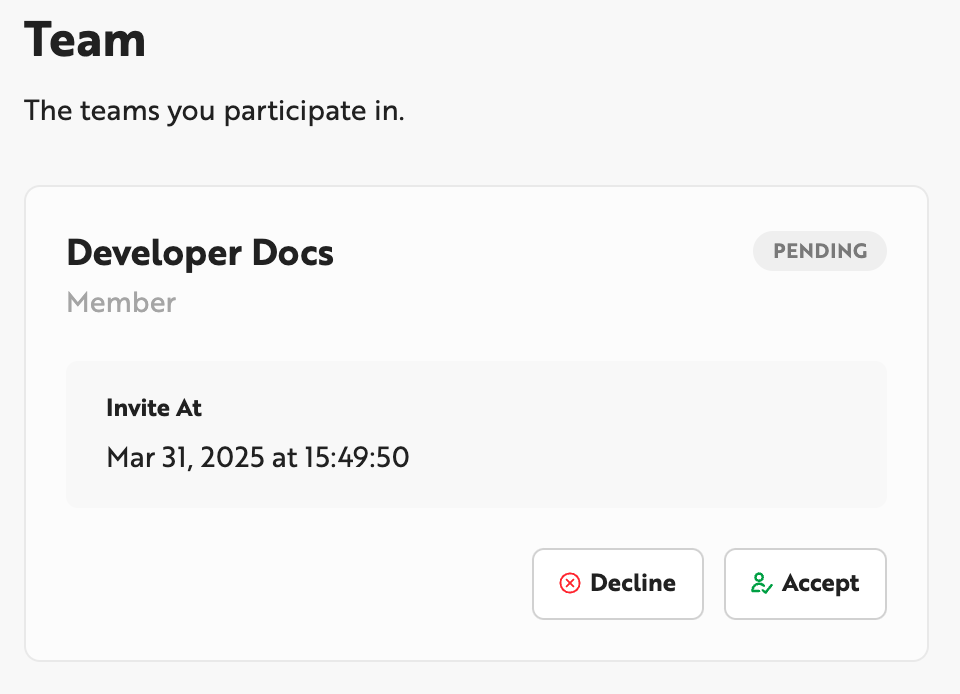
- Click [Accept] to accept the invitation and join the team project as a Team Member. Switch between team account mode and personal account mode using the menu at the top of the console.
Changing Member Role
The role of a Team Member account can only be changed by a Team Owner account. To change the role of a Team Member account, follow these steps.
- Navigate to the [Team] menu in the console.
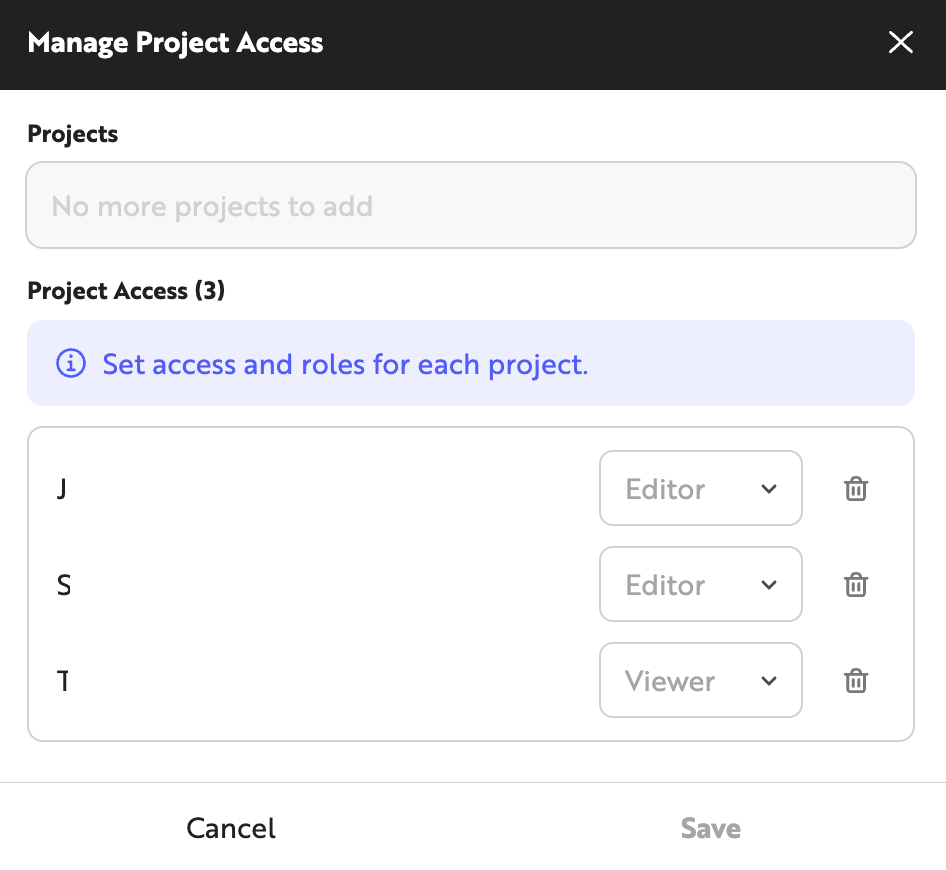
- In the member list, click the pencil icon in the [project / Role] area of each member.
- In the detail modal screen, you can add or remove projects to grant permissions and change the role.
Removing Members
Team members can only be removed by the Team Owner account. The steps to remove a team member are as follows.
- Navigate to the [Team] menu in the console.
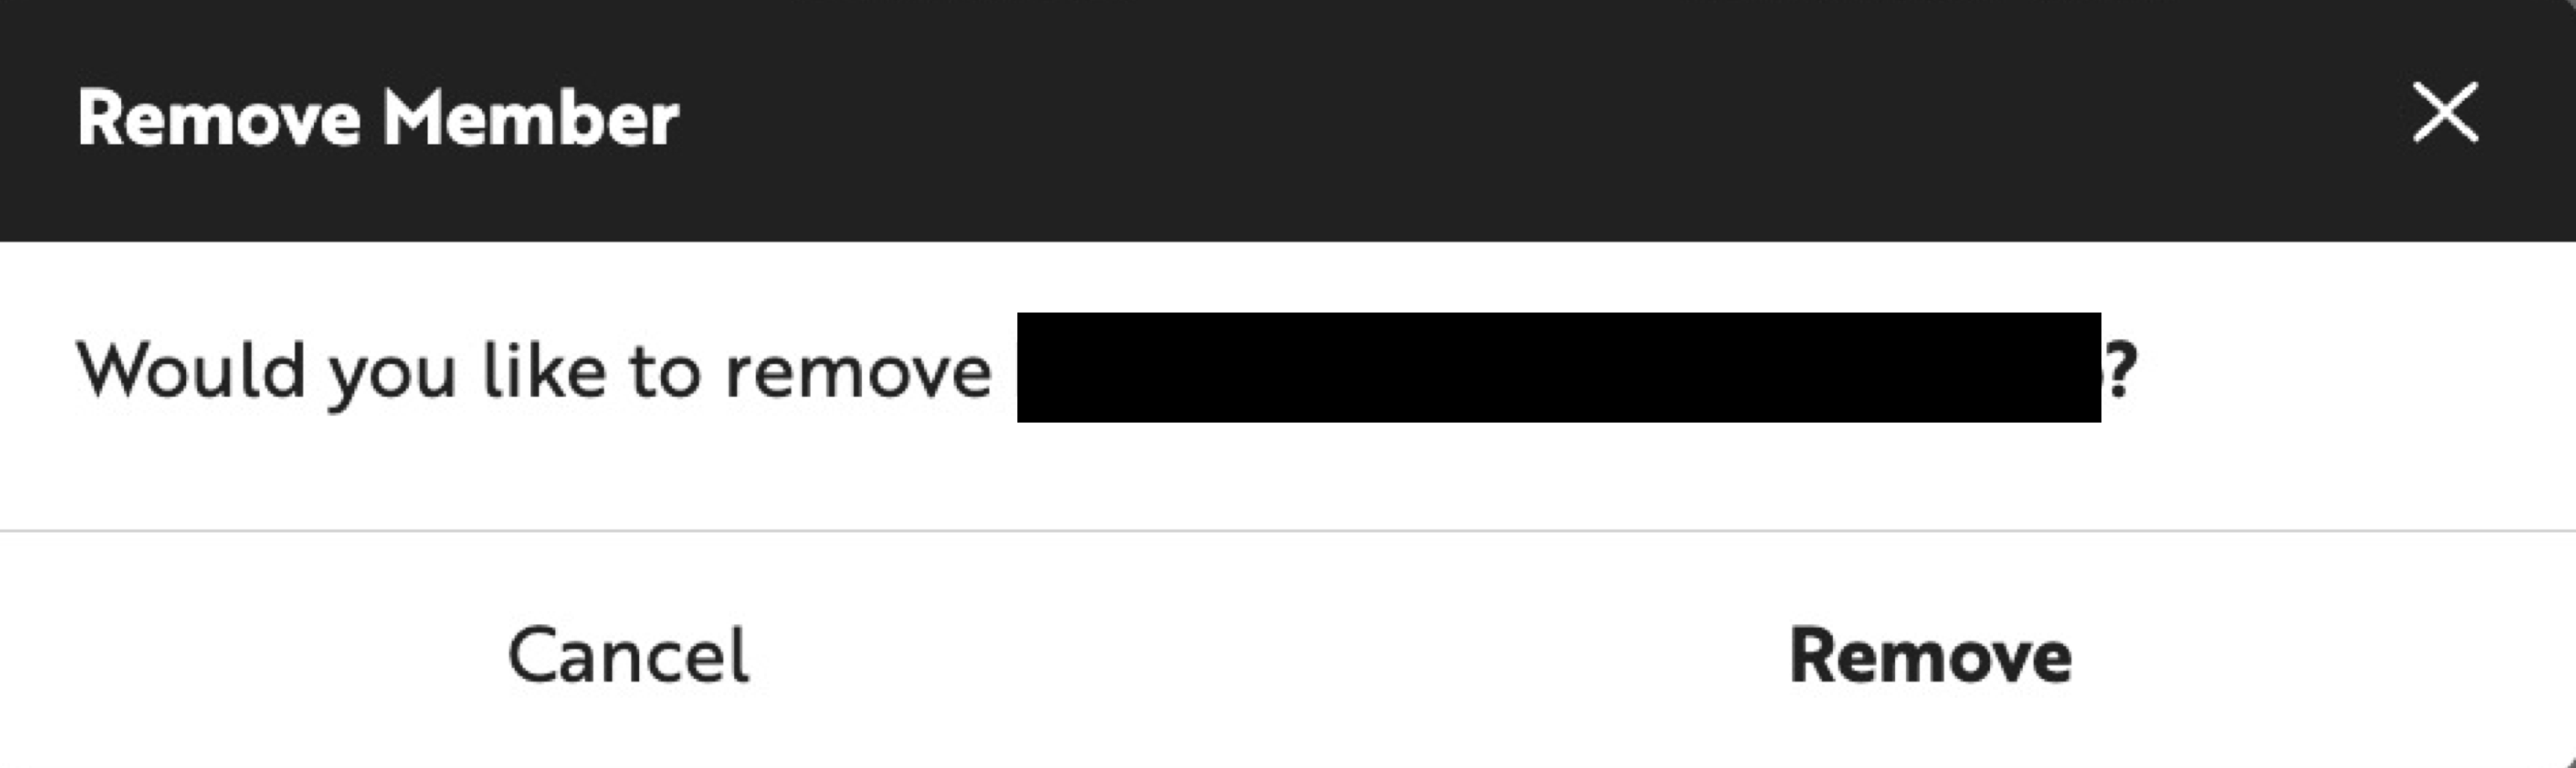
- In the member list, click the delete (trash) icon on the right side of the member's row.
- In the confirmation popup, click [Remove] to remove the member from the team.
Related FAQ
- What are the requirements to convert to a team account?
- What are the permission differences between Team Owner and Team Member?
- Can a Team Owner account join another team as a member?
For additional questions or suggestions about team features beyond the above, contact [email protected].